僕は3つ方法を使い分けています。
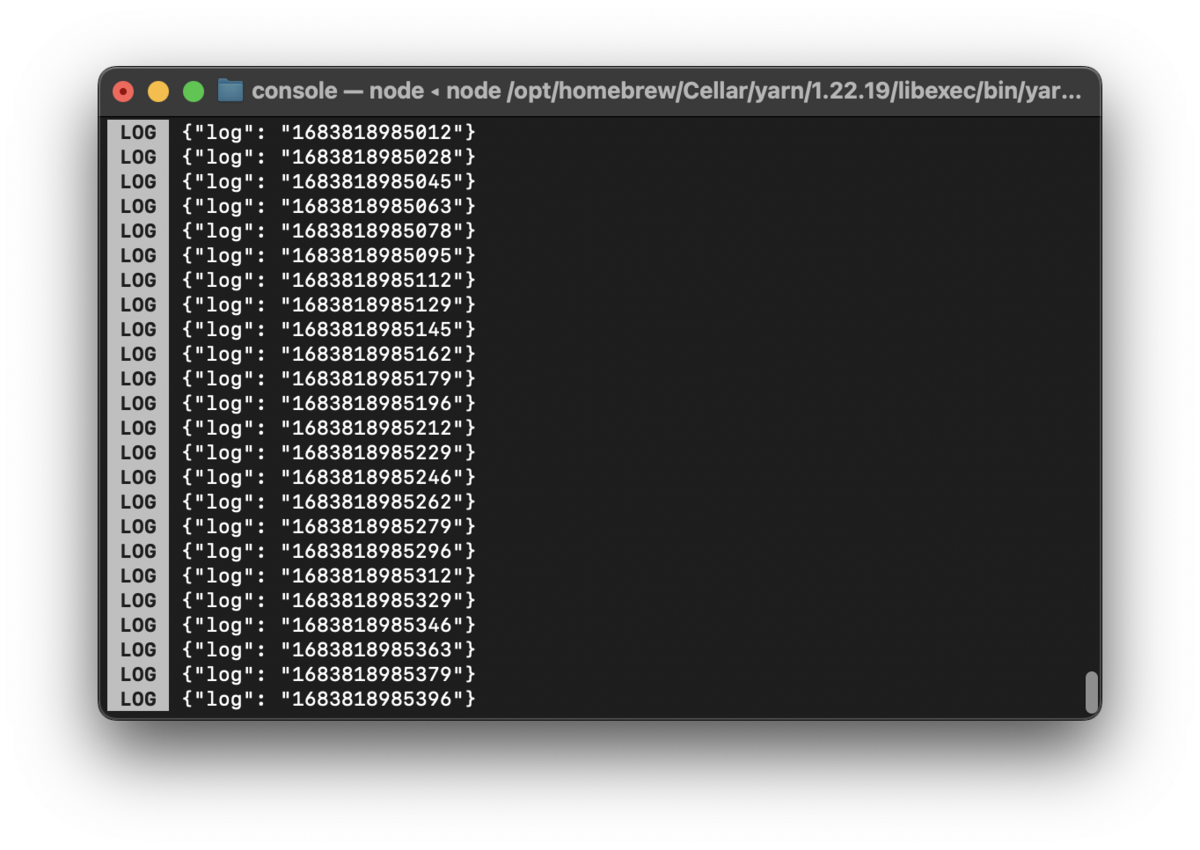
❶ コンソールを確認する
yarn startを実行したコンソールに出力されているので、ターミナルを見れば確認できます。
一番手軽です。

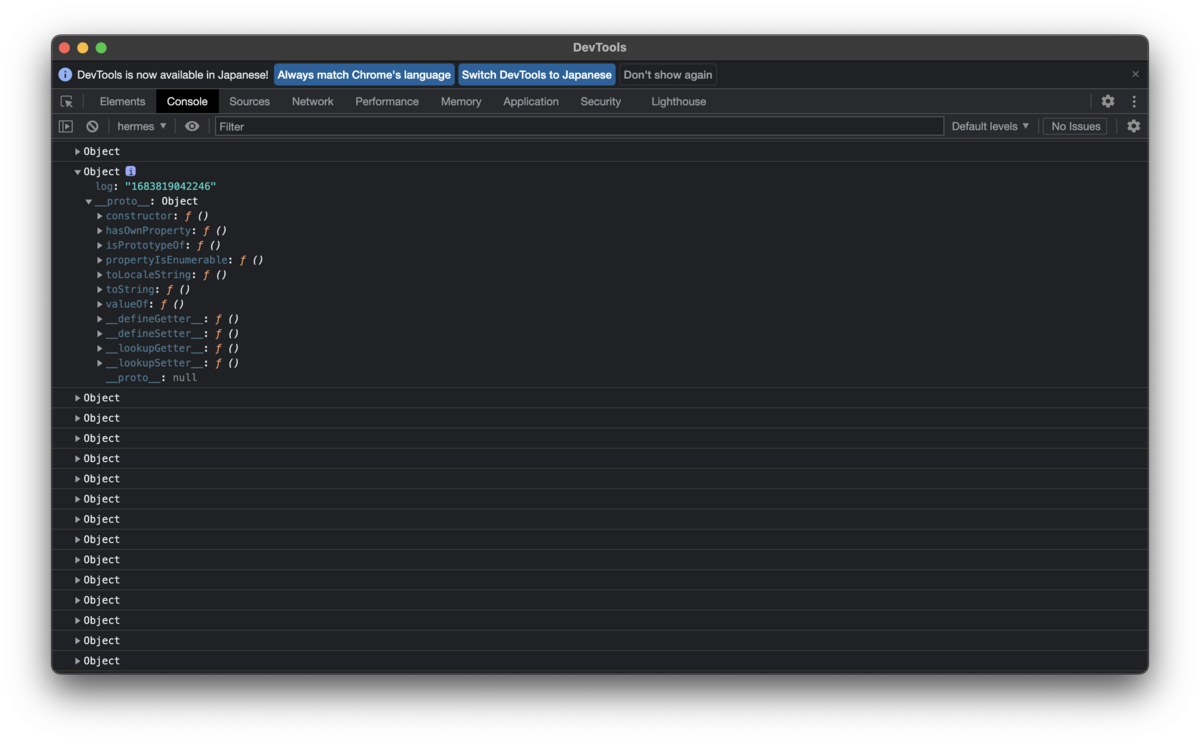
❷ JS Debuggerで確認する
yarn startを実行したコンソールで「j」を押下すると、Chromeのデバッガーが開き、ログを確認できます。
オブジェクトを展開できたり、prototypeを辿ることができたりするので便利です。
初めてこの機能を知った時は感動しました。

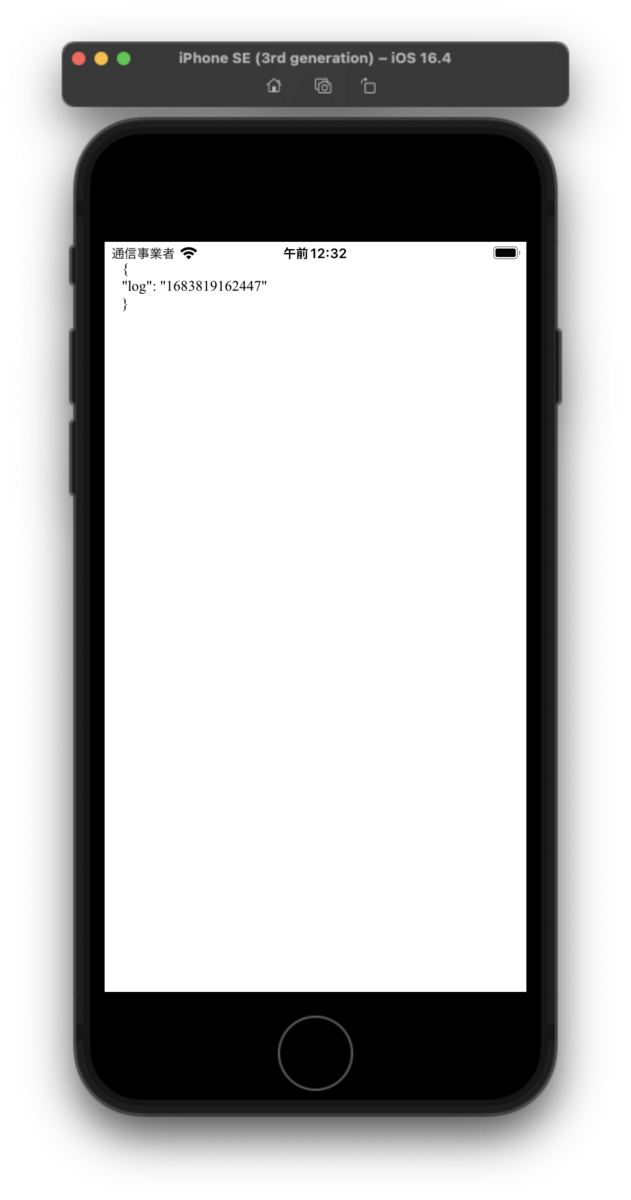
❸ ログを表示するViewをつくる
WebViewを使い、受け取ったログを表示するViewを作れば確認できます。
ConsoleView.tsx
import { useEffect, useRef } from 'react';
import { Dimensions, StyleSheet } from 'react-native';
import { WebView } from 'react-native-webview';

export function ConsoleView({
  log = ''
}: {
  log?: any;
}) {
  const webViewRef = useRef<WebView>(null);

  useEffect(() => {
    webViewRef.current?.injectJavaScript(`
      window.log(${JSON.stringify({
        log
      })});
    `);
    console.log({ log });
  }, [log]);

  return (
    <WebView
      ref={ webViewRef }
      style={ styles.container }
      source={{ html: `
        <style>
          body {
            padding: 32px;
            font-size: 24px;
          }
        </style>
        <p></p>
        <script>
          window.log = (json) => {
            document.querySelector('p').innerText = JSON.stringify(json, null, '  ');
          }
        </script>
      `}}
    />
  );
}

const styles = StyleSheet.create({
  container: {
    width: Dimensions.get('window').width,
    height: Dimensions.get('window').height,
    backgroundColor: '#fff'
  }
});
こんな感じです。
window直下にlogという関数をはやし、引数をWebViewに表示しています。
使い方はこんな感じです。
App.tsx
import { useEffect, useState } from 'react';
import { StyleSheet, View } from 'react-native';
import { ConsoleView } from './ConsoleView';

export default function App() {
  const [ log, setLog ] = useState('');

  useEffect(() => {
    const now = Date.now();

    setTimeout(() => {
      setLog(String(now));
    }, 12 / 1000);
  }, [log]);

  return (
    <View style={ styles.container }>
      <ConsoleView log={ log } />
    </View>
  );
}

const styles = StyleSheet.create({
  container: {
    flex: 1,
    alignItems: 'center',
    justifyContent: 'center',
    backgroundColor: 'red'
  }
});
スマホだけでもlogが確認できるようになるので、ものすごく便利な時もあります。
WebViewを使うためには、
npx expo install react-native-webview
で、パッケージのインストールが必要になるので、WebViewを使ってないアプリでつかうのはちょっと気が引けます。
