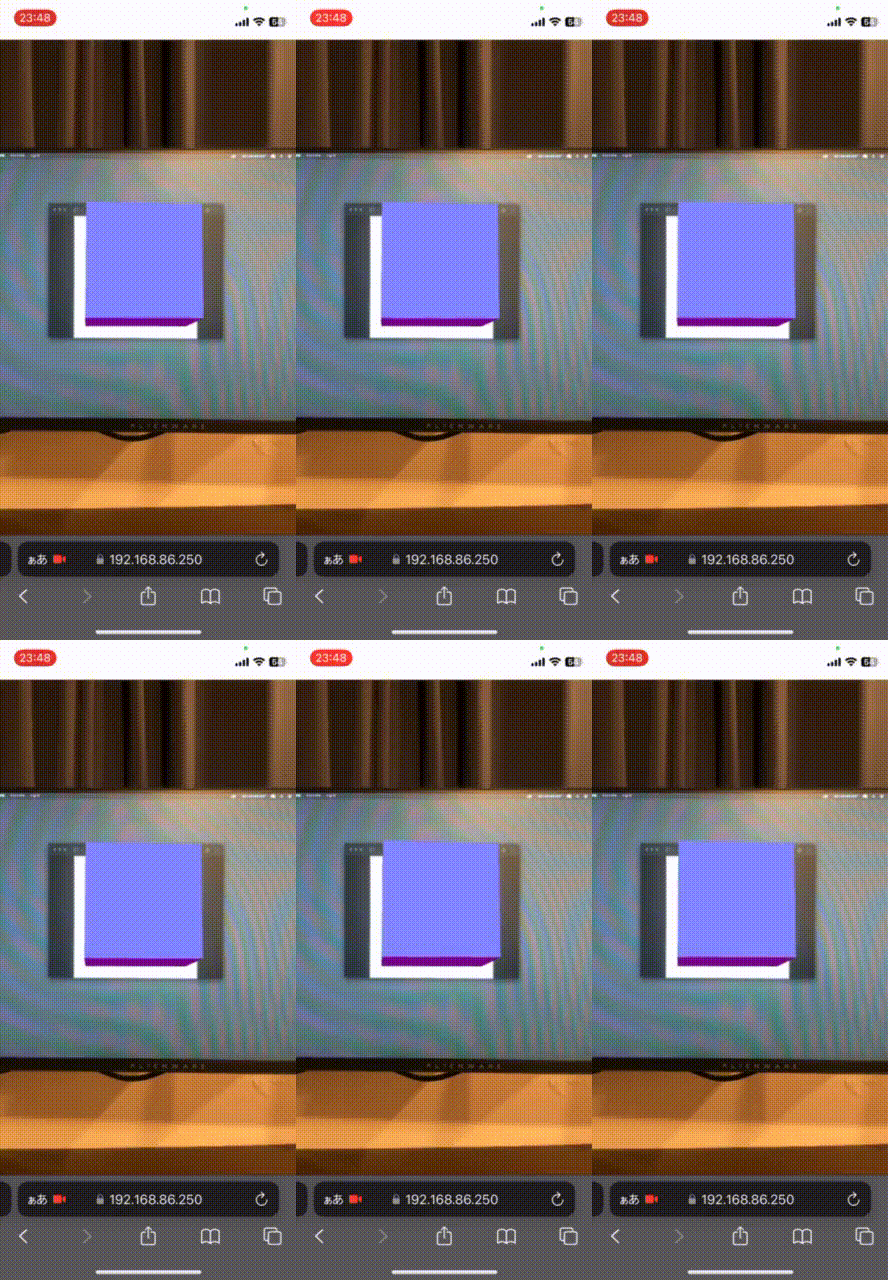
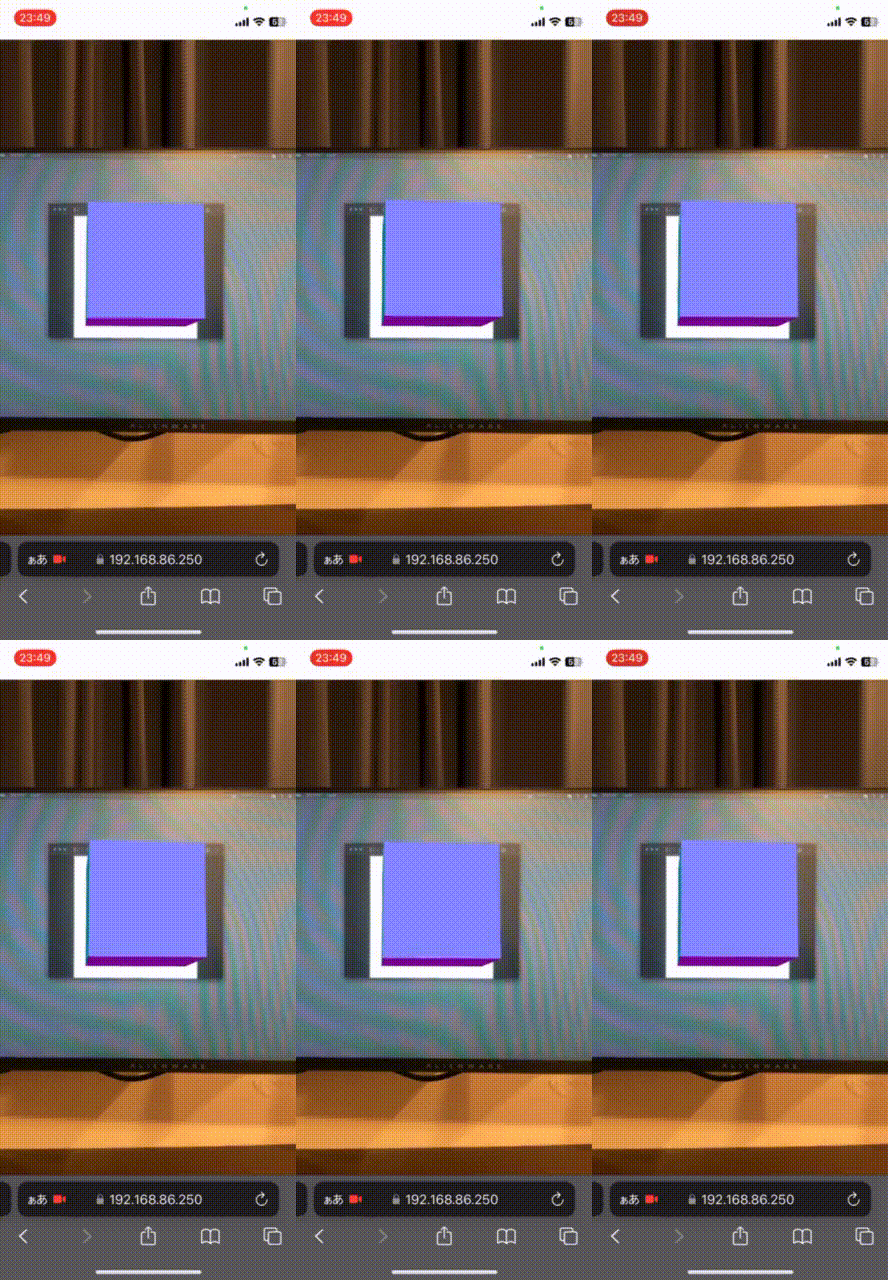
AR.jsの/three.js/examples/mobile-performance.htmlというサンプルを見ていて、THREEx.ArSmoothedControlsというものを見つけました。
早速、サンプルのコードを参考に 以前のコード を修正してみました。
ソースコード(全文)
index.html
<html>
<head>
  <title>threejs + ar.js (smoothed-controls)</title>
  <meta name="viewport" content="width=device-width, viewport-fit=cover, shrink-to-fit=no" />
  <style>
    * {
      margin: 0; padding: 0;
    }

    .wrapper {
      position: relative;
      overflow: hidden;
    }
  </style>
</head>
<body>
  <div class="wrapper">
    <canvas></canvas>
  </div>
  <script src="https://unpkg.com/three@0.127.0/build/three.min.js"></script>
  <script src="https://raw.githack.com/AR-js-org/AR.js/3.3.3/three.js/build/ar.js"></script>
  <script>
    const renderer = new THREE.WebGLRenderer({
      canvas: document.querySelector('canvas'),
      antialias: true,
      alpha: true
    });
    const camera = new THREE.PerspectiveCamera();
    const scene = new THREE.Scene();
    const markerRoot = new THREE.Group();
    const smoothedRoot = new THREE.Group(); // 追加
    const arToolkitContext = new THREEx.ArToolkitContext({
      cameraParametersUrl: './camera.dat',
      detectionMode: 'mono'
    });
    const arToolkitSource = new THREEx.ArToolkitSource({
      sourceType: 'webcam'
    });
    const arMarkerControls = new THREEx.ArMarkerControls(arToolkitContext, markerRoot, {
      type: 'pattern',
      patternUrl: 'pattern.patt'
    });
    const smoothedControls = new THREEx.ArSmoothedControls(smoothedRoot, { // 追加
      lerpPosition: .4,
      lerpQuaternion: .3,
      lerpScale: 1
    });

    renderer.setSize(window.innerWidth, window.innerHeight);

    window.addEventListener('resize', handleResize, {
      passive: true
    });

    arToolkitContext.init(() => {
      camera.projectionMatrix.copy(arToolkitContext.getProjectionMatrix());
    });

    arToolkitSource.init(() => {
      document.querySelector('.wrapper').appendChild(arToolkitSource.domElement);
      setTimeout(() => handleResize(), 400);
    });

    scene.add(markerRoot);
    scene.add(smoothedRoot); // 追加

    const cube = new THREE.Mesh(
      new THREE.BoxGeometry(1, 1, 1),
      new THREE.MeshNormalMaterial()
    );

    cube.position.set(0, .5, 0);

    smoothedRoot.add(cube); // cubeをaddする先をmarkerRootからsmoothedRootに変更

    renderer.setAnimationLoop((delta) => {
      if (arToolkitSource.ready) {
        arToolkitContext.update(arToolkitSource.domElement);
      }

      smoothedControls.update(markerRoot); // 追加
      renderer.render(scene, camera);
    });

    function handleResize() {
      if (arToolkitSource.ready) {
        arToolkitSource.onResize();
        arToolkitSource.copySizeTo(renderer.domElement);
      }

      renderer.setPixelRatio(window.devicePixelRatio);
    }
  </script>
</body>
</html>
結果
THREEx.ArSmoothedControlsあり

GIFアニメにしてしまうと、ちょっとわかりにくいですが、有りよりも無しの方がプルプルしています。
つまり、THREEx.ArSmoothedControlsを使った方が、ARオブジェクトのレンダリングがスムーズになっているということです。
実際にスマホで確認するとわかりやすく、 threejs + ar.js (smoothed-controls) と three.js + ar.js で、下記マーカーを撮影する様子を比較してみるとよくわかると思います。

結論としては、とりあえずTHREEx.ArSmoothedControlsを使っておいて損はないということなんですが、もうちょっとパラメーターについて調査します。
ArSmoothedControlsのパラメータ
ドキュメントに記載が見当たらないので、 ソースコード を直接読みます。
パラメータに関する記述は この辺り です。
this.parameters = {
  // lerp coeficient for the position - between [0,1] - default to 1
  lerpPosition: 0.8,
  // lerp coeficient for the quaternion - between [0,1] - default to 1
  lerpQuaternion: 0.2,
  // lerp coeficient for the scale - between [0,1] - default to 1
  lerpScale: 0.7,
  // delay for lerp fixed steps - in seconds - default to 1/120
  lerpStepDelay: 1 / 60,
  // minimum delay the sub-control must be visible before this controls become visible - default to 0 seconds
  minVisibleDelay: 0.0,
  // minimum delay the sub-control must be unvisible before this controls become unvisible - default to 0 seconds
  minUnvisibleDelay: 0.2,
};
パラメーターを触りながら試行錯誤した結果、僕の理解としては、
・lerpPosition 👉 ポジションの線形補完係数(値が大きいほど動きが急になる)0 〜 1が入る
・lerpQuaternion 👉 角度の補完係数(値が大きいほど動きが急になる)0 〜 1が入る
・lerpScale 👉 大きさの線形補完係数(値が大きいほど動きが急になる)0 〜 1が入る
・lerpStepDelay 👉 ステップ間の待機時間(値が大きいほどカクカク動く)
・minVisibleDelay 👉 マーカーを認識してからオブジェクトを表示するまでの待機時間
・minUnvisibleDelay 👉 マーカーの認識が切れてからオブジェクトを非表示にするまでの待機時間
です。
