- Cubeがクリックされたことを検知
- HTTPリクエスト(GET)でJSONの取得
- HTTPリクエスト(POST)でJSONの送信 👈 今回はここ
- WebSocketによる通信
前々回、前回の続きです。
今回はCubeがクリックされた際に、HTTPリクエスト(POST)でJSONを送信します。
開発環境
- Unity 2022.3.36f1
- Node.js v22.4.0
Unityの修正
スクリプトの差し替え
Assets/Scripts/PostClient.cs
using System.Collections;
using System.Collections.Generic;
using System.Text;
using UnityEngine;
using UnityEngine.Networking;

public class PostClient : MonoBehaviour
{
    [SerializeField] private string url = "http://localhost:8000/message";
    [SerializeField] private string message = "Ya-Ha-!";

    private Request request;

    private class Request
    {
        public string message;

        public Request(string message)
        {
            this.message = message;
        }
    }

    private class Response
    {
        public string message;
    }

    public void OnClick()
    {
        request = new Request(message);
        StartCoroutine(PostRequest(url, JsonUtility.ToJson(request)));
    }

    IEnumerator PostRequest(string url, string json) {
        using (UnityWebRequest webRequest = new UnityWebRequest(url, "POST"))
        {
            byte[] body = Encoding.UTF8.GetBytes(json);
            webRequest.uploadHandler = new UploadHandlerRaw(body);
            webRequest.downloadHandler = new DownloadHandlerBuffer();
            webRequest.SetRequestHeader("Content-Type", "application/json");

            yield return webRequest.Send();

            if (webRequest.result == UnityWebRequest.Result.Success)
            {
                var response = JsonUtility.FromJson<Response>(webRequest.downloadHandler.text);

                Debug.Log(response.message);
            }
            else
            {
                Debug.Log(webRequest.error);
            }
        }
    }
}
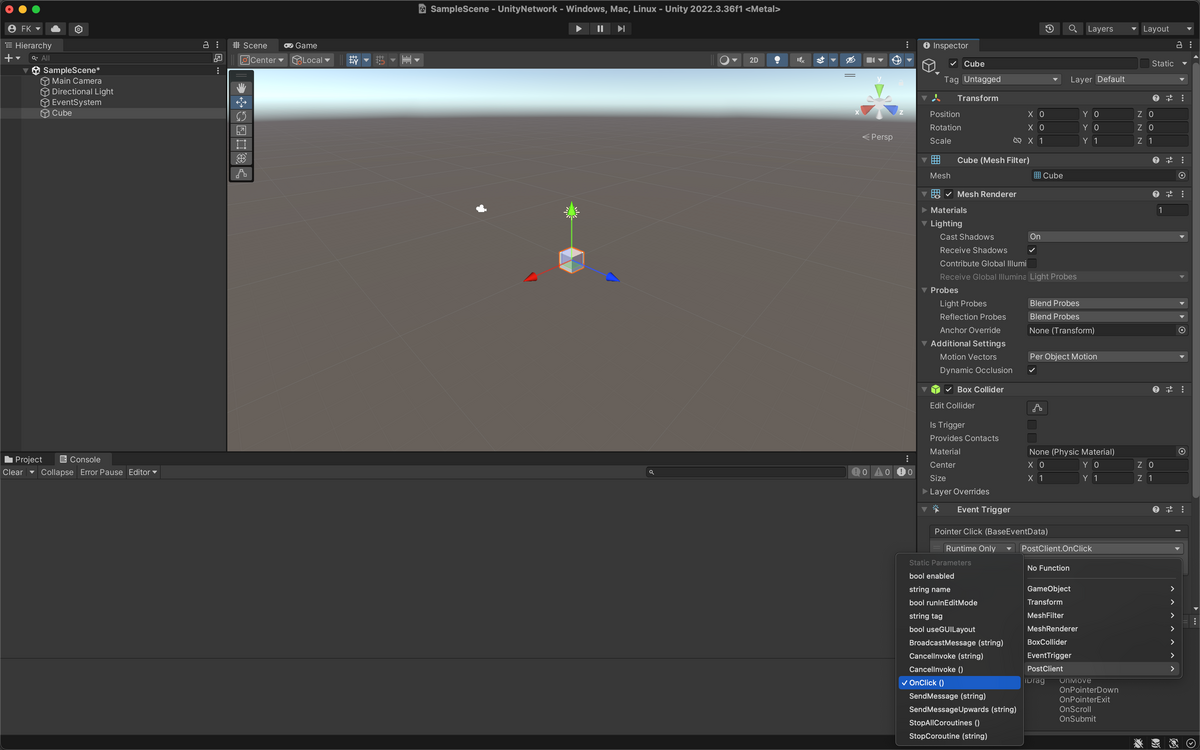
スクリプトを作成し、Cubeにドラッグ&ドロップしたら、PointerClickを「PostClient > OnClick()」に差し替えます。
サーバの修正
app.mjs
import express from 'express';
import { createServer } from 'node:http';

const __dirname = import.meta.dirname;
const app = express();
const http = createServer(app);

app.use(express.json());

app.get('/message', (req, res) => {
  res.send({
    message: 'Ya-Ha-!'
  });
});

app.post('/message', (req, res) => {
  console.log(req.body);

  res.send({
    message: 'Yo-Ho-!'
  });
});

http.listen(8000);
localhost:8000/messageにPOSTリクエストがあった際に、
- req.bodyをログに表示
- { message: 'Yo-Ho-!' } を返す
という機能を追加し、サーバを起動します。
これで準備OKです。
挙動確認
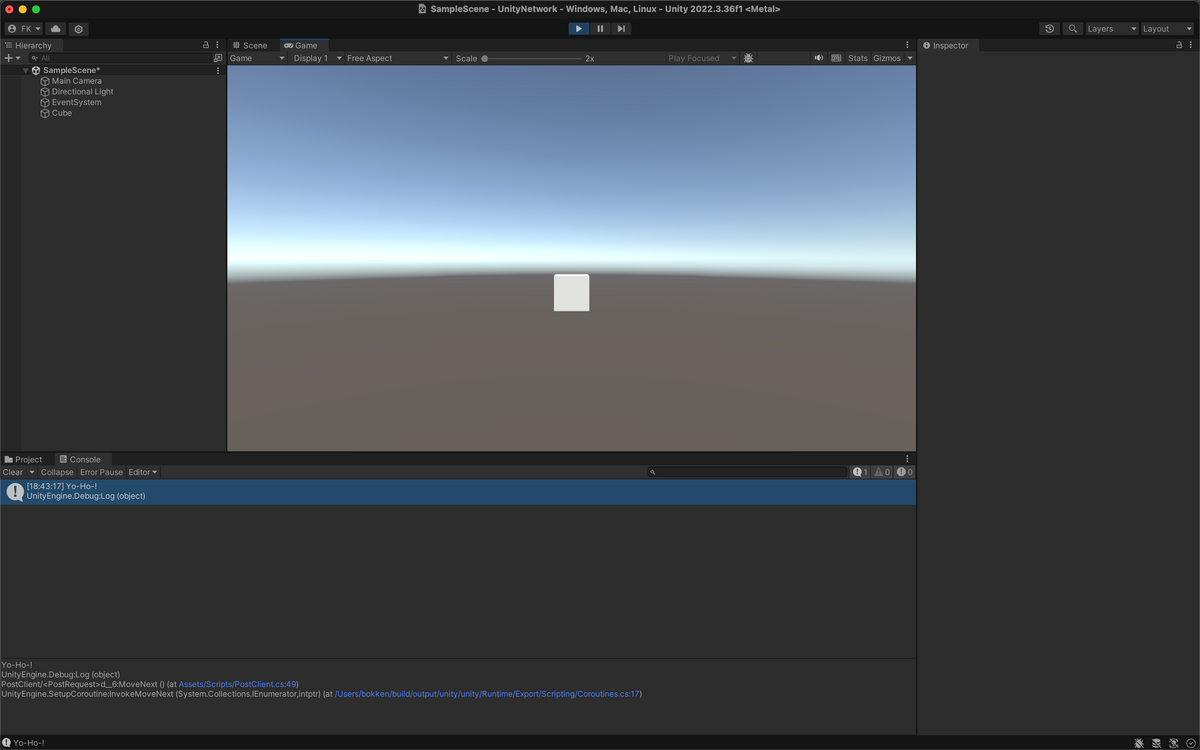
Unityを実行し、Cubeをクリックするとログに「Yo-Ho-!」と表示されることが確認できます。
また、サーバのログには、「{ message: 'Ya-Ha-!' }」と表示されるはずです。
今回は以上です。
次回はWebSocketを使ってサーバとデータをやりとりします。