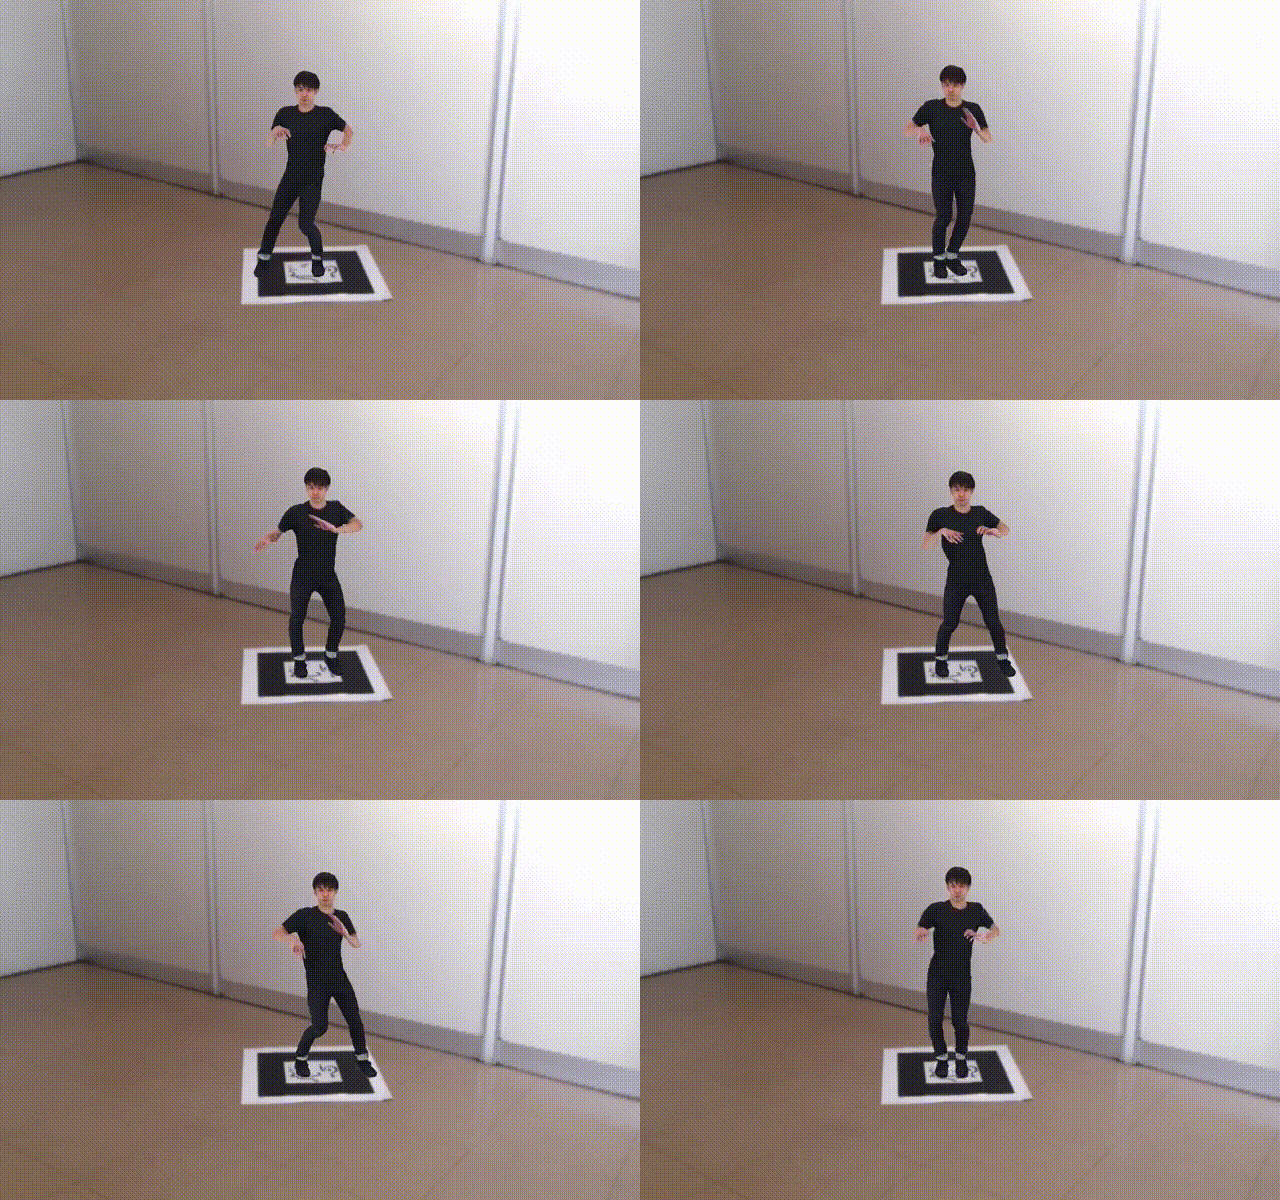
これまでWebARの実装には、A-Frame + AR.jsを使ってきましたが、細かい調整が必要になってきたのでThree.js + AR.jsで実装してみようと思います。
A-Frameも内部ではThree.jsを使っているので、ライブラリをひとつ減らすイメージです。
AR.jsのドキュメントはこちらにまとまっているのですが、それに加え、こちらのサンプル(非公式)が大変参考になりました。
ソースコード
<script src="https://cdnjs.cloudflare.com/ajax/libs/three.js/r122/three.js"></script>
<script src="https://cdn.rawgit.com/mrdoob/three.js/r122/examples/js/loaders/GLTFLoader.js"></script>
<script src="https://raw.githack.com/AR-js-org/AR.js/3.3.2/three.js/build/ar.js"></script>
<script>
  const clock = new THREE.Clock();

  let scene, camera, renderer;
  let arToolkitSource, arToolkitContext;
  let mixer;

  init();

  function init() {
    scene = new THREE.Scene();

    camera = new THREE.Camera();
    scene.add(camera);

    renderer = new THREE.WebGLRenderer({
      antialias : true,
      alpha: true
    });

    renderer.setPixelRatio(window.devicePixelRatio);
    renderer.setSize(window.innerWidth, window.innerHeight);

    document.body.appendChild(renderer.domElement);

    arToolkitContext = new THREEx.ArToolkitContext({
      cameraParametersUrl: 'data/camera_para.dat',
      detectionMode: 'mono'
    });

    arToolkitContext.init(() => {
      camera.projectionMatrix.copy(arToolkitContext.getProjectionMatrix());
    });

    arToolkitSource = new THREEx.ArToolkitSource({
      sourceType : 'webcam',
    });

    function handleResize() {
      arToolkitSource.onResize();
      arToolkitSource.copySizeTo(renderer.domElement);

      if (arToolkitContext.arController) {
        arToolkitSource.copySizeTo(arToolkitContext.arController.canvas);
      }
    }

    arToolkitSource.init(() => {
      setTimeout(() => {
        tick();
        handleResize();
        [].slice.call(document.querySelectorAll('.invisible')).forEach((elm) => {
          elm.classList.remove('invisible');
        });
      }, 200);
    });

    window.addEventListener('resize', handleResize, {
      passive: true
    });

    const markerRoot = new THREE.Group();

    scene.add(markerRoot);

    const arMarkerControls = new THREEx.ArMarkerControls(arToolkitContext, markerRoot, {
      type: 'pattern',
      patternUrl: 'data/pattern.patt'
    });

    const loader = new THREE.GLTFLoader();
    const url = './3d.glb';

    loader.load(
      url,
      (gltf) => {
        const animations = gltf.animations;
        const model = gltf.scene;

        if (animations && animations.length) {
          mixer = new THREE.AnimationMixer(model);

          for (let i = 0; i < animations.length; i++) {
            const animation = animations[i];
            const action = mixer.clipAction(animation);

            action.play();
          }
        }

        model.scale.set(1, 1, 1);
        model.position.set(0, 0, 0);
        markerRoot.add(gltf.scene);
      },
      (err) => {
        console.error(err);
      }
    );
  }

  function update() {
    if (arToolkitSource.ready) {
      arToolkitContext.update(arToolkitSource.domElement);
    }

    if (mixer) {
      mixer.update(clock.getDelta());
    }
  }

  function render() {
    renderer.render(scene, camera);
  }

  function tick() {
    update();
    render();
    requestAnimationFrame(tick);
  }
</script>
こんな感じになりました。A-Frameをつかったときの、12倍程度の記述量になりました。
A-Frameのありがたさが身に染みますね。
ポイント
THREE.GammaEncoding
renderer.outputEncoding = THREE.GammaEncoding;
こちらを設定しないと薄暗くなりました。
感想
単純なARでよければA-Frameを使った方が楽なのですが、ちょっと複雑なことをやろうとするならThree.jsで実装するのも良いかと思いました。
VR空間へ領域展開。 pic.twitter.com/S69K9grhTs
— 君塚史高 (@ki_230) 2021年3月3日
こちらのモックはThree.js + AR.jsで作りました。
が。頑張ったらA-Frameでも作れたかもしれません。
