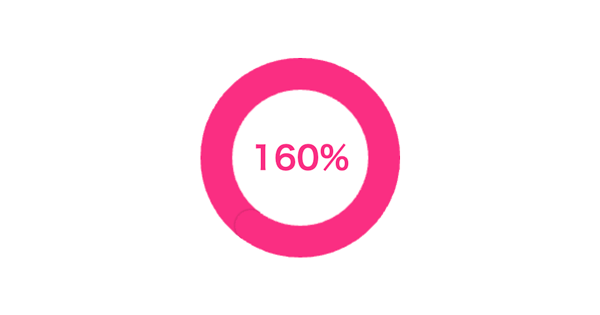
DEMO
解説
頑張ればひとつのCanvasで描き切れたと思いますし、パフォーマンス的にもそちらの方が良いと思うのですが、
- リングを描くCanvas
- リングの先端を描くCanvas
を分けて実装しました。
また、リングの先端の回転はCSSで実装しています。
リングを描く
const progress = 0;
const size = 200;

const startAngle = 0 - 90 / 180 * Math.PI;
const endAngle = (360 * progress) / 180 * Math.PI - 90 / 180 * Math.PI;

const canvas = document.querySelector('canvas');
const ctx = canvas.getContext('2d');

canvas.width = canvas.height = size;

ctx.save();
  ctx.lineCap = 'round';
  ctx.lineWidth = size / 2 * .32;
  ctx.strokeStyle = 'rgba(250, 45, 130, 1)';
  ctx.beginPath();
    ctx.arc(size / 2, size / 2, size / 2 * .84, startAngle, endAngle, false);
  ctx.stroke();
ctx.restore();
リングの先端を描く
const progress = 0;
const size = 200;

const startAngle = 0 - 90 / 180 * Math.PI;
const endAngle = (360 * progress) / 180 * Math.PI - 90 / 180 * Math.PI;

const canvas = document.querySelector('canvas');
const ctx = canvas.getContext('2d');

canvas.style.transform = `rotate(${ 360 * progress }deg)`;
canvas.width = size / 2;
canvas.height = size;

ctx.save();
  ctx.shadowColor = 'rgba(0, 0, 0, .4)';
  ctx.shadowBlur = 2;
  ctx.fillStyle = 'rgba(250, 45, 130, 1)';
    ctx.beginPath();
      ctx.arc(0, size / 2 * .16, size / 2 * .16, 270 / 180 * Math.PI, 90 / 180 * Math.PI, false);
    ctx.fill();
ctx.restore();
ざっくりいうと、この2つを組み合わせて実装しました。